
Cordless Tool Organization w/ 3D Printing [NUC #9]
If you can't buy the storage options that you need, download them! Better yet, model your own! [Novel Use Case #9]

*After originally labeling these posts as “Questionable Use Case,” I’m now going to call them “Novel Use Case” posts. These will primarily be about things that I have made that are somewhat unusual. Maybe questionable, but more than anything they are new/novel. So while this would have been QUC #9, it’s now NUC #9.
For various reasons, I was slow to jump on the cordless tool bandwagon. However, after a few years of actually using (mostly Ryobi) battery operated tools I’m all in.
If you’re into offbeat engineering, real-world builds, and practical tech thinking, subscribe 👇
However, rather than just store my tools wherever they end up in the workshop, I made 3D-printed mounts for my drill, glue gun, and spotlight, as well as space for extra batteries. I designed the tool mounts, but battery storage was downloaded Printables, and everything is available in this Ryobi organization collection.
My (3D-printed) cordless setup

As shown above, my glue gun and flashlight are hanging sans batteries in a 3D-printed sheathes, while the drill is always ready to go in a 3D-printed loop on the wall with battery in-place. Below the drill, a bank of chargers keeps two battery packs topped off, while 3D-printed battery holders keep another pack or two at-the ready.
My goal is to rotate the packs evenly between use and charging, but at this point switching is kind of random. This works well enough, even if it’s not 100% optimal. Let’s look at my setup in a bit more detail:
Ryobi drill loop
One of the first things I did when I bought my first set of Ryobi tools–a saw, plus a drill that I (originally) saw as more of a bonus than anything else–I decided to design a mount that would keep it in place, always at the ready. It’s a rather simple design, optimized so that it meets my needs perfectly.
It would be easy enough to find something that will mostly work, but getting things just right often requires you to modify things yourself in CAD or to design it from scratch. After a few years of use, I’m quite satisfied with how it turned out.
Ryobi battery holder
While one might grumpily posit that if you want something done right, you have to do it yourself, sometimes this isn’t the case at all. The battery holders I found on Printables were exactly what I was looking for, mounting to 2 extra batteries as needed. Even if you want something rather niche 3D printing-wise, don’t forget to take a look around (and potentially save yourself a lot of design time and hassle).
I generally keep one slot open, so I wouldn’t be surprised if another one or two come popping off the printer before too long. Having a 2/2 ratio of spare batteries to those in chargers seems natural for swapping purposes though… Maybe I’ll buy another charger at some point too!1
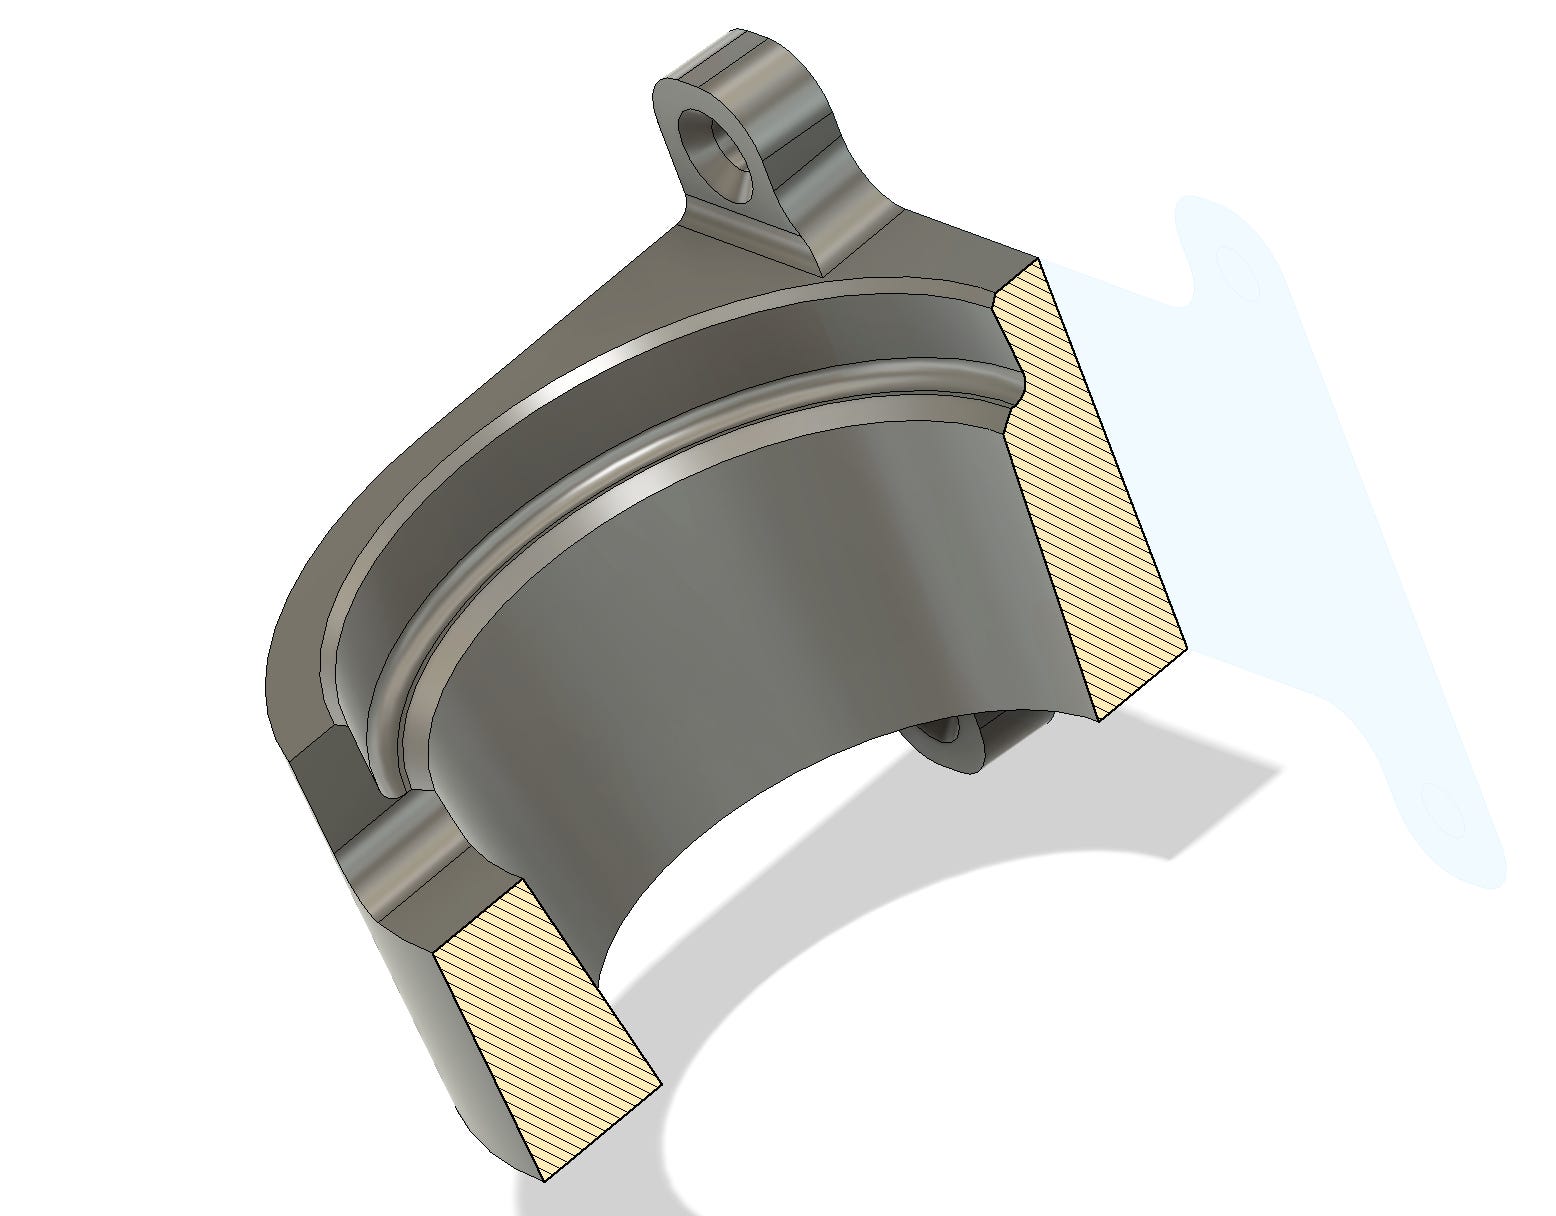
Pistol grip tool mount
While this design is somewhat simple, it took a lot of consideration to make it that way. First I had to decide where and how to mount it–on a wire shelf with zip-ties. The tool should slide easily into place with just a tiny bit of resistance to being extracted. Also, it had to be 3D-printable, which meant no huge unsupported overhangs and (ideally) a minimal amount of filament usage.2
My setup won’t hold every Ryobi tool, but it should hold most of their tools that have a pistol grip (sans battery). I’m quite pleased with how this turned out; unsheathing tools does produces just the right amount of resistance, and while the battery isn’t there all the time, snapping one into place feels quite natural. To mount it to my wire rack, I used these reusable zip-ties (which are awesome), and I printed the mounts in black PLA.3
So what have we learned here?
This was originally going to be a part of a cordless tools article4, but it seemed worthy to stand on its own. I guess the overall lesson is that 3D-printers (and ideally CAD modeling skills) are great for optimizing things in ways that not everyone would need, but that suit you perfectly. AND even if you have 3D-CAD skills, don’t forget to check around for inspiration and/or use as-is before designing your own.
Sure, maybe just placing your tools randomly on a rack is good enough, and maybe these storage doodads won’t save me enough time in aggregate to justify the initial time/money investment. However, I had fun designing them, and it feels awesome being able to access them at a moment’s notice.
HOWEVER, since my drill mount model has been downloaded over 200 times, I bet it has saved society in aggregate way more time than it cost me to make it. Might as well pay it forward design-wise. You probably benefit from other people’s open-source creations all the time anyway!5
Techadjacent is where I share engineering ideas, builds, and practical tech analysis. Subscribe to get the next post in your inbox — published weekly👇
Thanks for reading! I hope you follow along on this Techadjacent journey. Fair warning: I can and do get a little off-topic in the footnotes.
Note: Some links may be affiliate
Addendum/Footnotes:
Four batteries might seem like a lot, and six ridiculous, but they can also function as limited backup power supplies when the lights go off. Being in Florida, an area prone to hurricanes, this possibility comes to mind every summer and fall.
If you’re unfamiliar with 3D-printing, huge unsupported overhangs (especially without an angle leading into them) tend to sag and/or look terrible. It’s therefore printed with the two middle ~arches facing up. The 3D-printing isn’t magic (the simple explanation) portion of the post below explains things a bit better, but picture trying to make something like this by building up layers with a glue gun.
The 3D-Printed Future is Now [A Dragon For My Daughter]
![The 3D-Printed Future is Now [A Dragon For My Daughter]](https://substackcdn.com/image/fetch/$s_!z74o!,w_1300,h_650,c_fill,f_webp,q_auto:good,fl_progressive:steep,g_auto/https%3A%2F%2Fsubstack-post-media.s3.amazonaws.com%2Fpublic%2Fimages%2F2ce788cf-10b9-45d6-a554-64ed7b25d56d_1714x1214.png)
Just prior to the turn of the millennium, on a tour of UCF, I saw my first 3D-printed thing, a translucent rook with an internal staircase. My father was quite impressed, as he claimed that it couldn’t have been made with traditional machining tools. I didn’t yet have the context to understand why that was, but it was certainly true.
Which looks and prints great… when it finishes. Unfortunately, after close to three years in a hot Florida garage started breaking on me. Hard to blame the filament for that.
Coming soon!
And/or if you feel like selling your design/prints, I say go for it. Open source/public domain is awesome, and I put a lot of stuff out there. At the same time, I don’t open source everything I make. Share generously, but don’t feel like it’s an obligation either.