

For a recent animatronics project… that I seem to keep harping on1, there were several things critical to its operation, including: two servos to move the figures arms around, an LED strip to provide dazzling lights, and a microcontroller to run everything. While this wasn’t an easy project, using known and/or quality components helped me get the build done on time (a very tight deadline) and with minimal hassle.
I did make one mistake, however: initially using servos that I had in my parts bin caused me significant hassle. While what servos to use, or anything else on this list, may or may not apply to you specifically, the overall lesson is that if you don’t spend the money on quality goods and/or services, you’ll likely pay in other ways — time, hassle, (more) money, or otherwise.

If you’re into offbeat engineering, real-world builds, and practical tech thinking, subscribe 👇
So, a few of my specific component experiences on this project, both good and bad:
Use Quality Servos
When I initially put this device together, I used standard hobby servos that I had in one of my storage bins from… who knows where. These devices are rated at somewhere around 10 kg-cm of torque2 and seem to feature an older analog control system that makes it buzz around and get hot when trying to maintain a position under torque.
Ideally, I would have calculated the torque required on the linkage that I was using and spec’d the servos to suit. This shouldn’t have been too hard, but… well it’s been a long time since I’ve taken dynamics. Unlike the scientific method, the engineering method tends to be overbuild something with known components and assume it will work unless it doesn’t.3
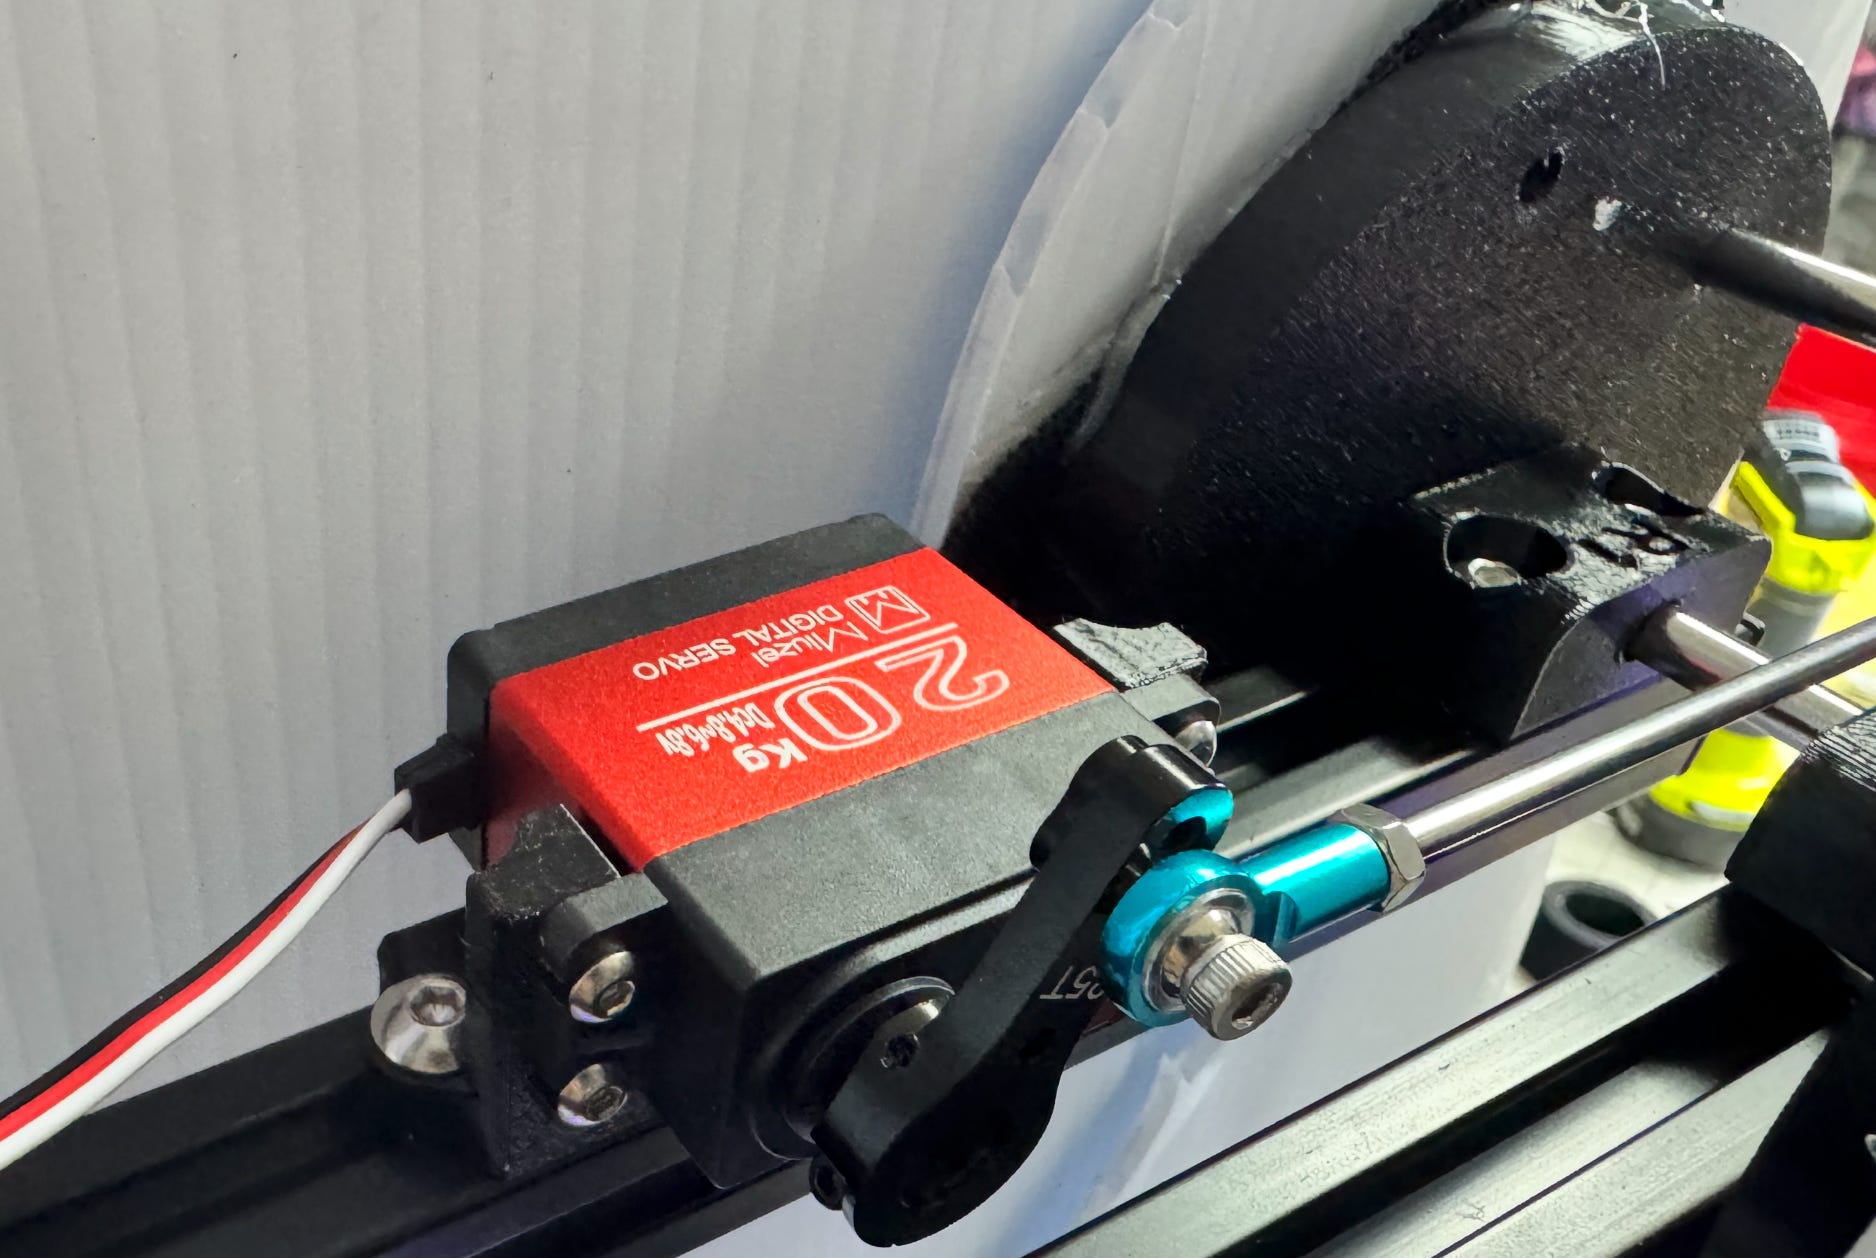
After all, the arm it’s lifting isn’t that heavy, and if the servos that I had didn’t work there are lots of other more torquey models available. Nonetheless, using rather puny/cheap servos meant that I threw out several puny/cheap servos and cost myself time troubleshooting them. The 20 Kg-cm servos shown above work and look much better, and I’m thinking they may be my go-to in the future.
I did do a good job with the linkages, with a black metal servo horn pushing a blue ball-head that connects to a sturdy rod. I purchased metal servo horns initially, even though the new servos each came with a similar device for direct attachment. A small expense for my mis/lack of-calculation.
LED Strips
The LED strip that I purchased started malfunctioning after a certain point during the build. Part of me thought I should just return it, but I’d already used the installation hardware and it seemed like a pain to extract it — and somewhat dishonest not to include it. So I repaired a fairly inexpensive item, which probably wasn’t worth it time/expense-wise.
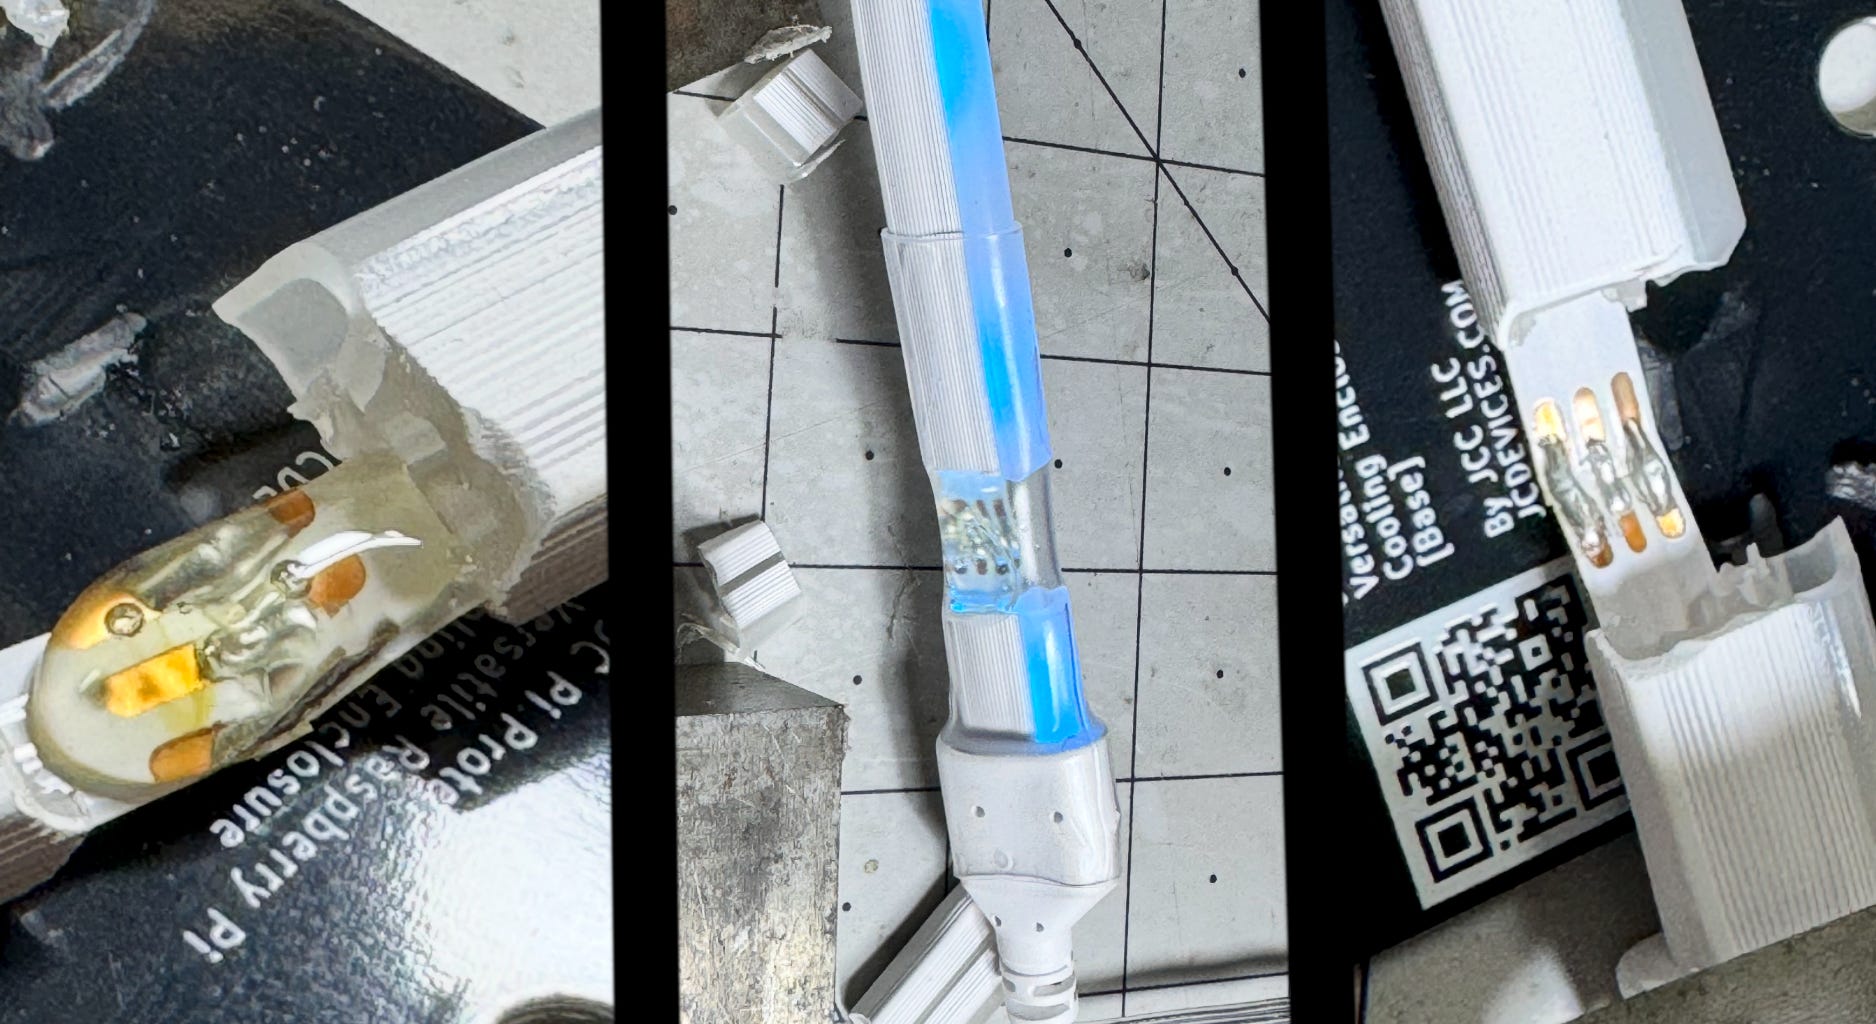
I did purchase another set of LEDs as a backup. But was it worth my time making the repair? Should I have just purchased two more? Maybe. I did get some good pictures out of it.
On the positive side utilization-wise, I decided to use the stock controller that came with the LEDs, rather than letting my main controller board run it. While a main-board setup would have given me more control over the lighting, given the tight timeline, it seemed like the default lighting patterns that were built-in would be sufficient. This also gave it additional redundancy — if the main board were to fail for some reason, the LEDs can still shine on (or vice versa).
Use a Known Processor/Breakout Board
As it so happens, I had just completed a custom synthesizer project for another client using the excellent Teensy 4.1 board and its audio shield. I also designed a screw terminal breakout board — that I had yet to use — for the purpose of duplicating that project in the future.
This processing/breakout setup is capable of much more than playing a few audio clips and moving two servos. However, rather than going with something less capable and cheaper to potentially save $10 or so, I used this known board/processor setup, which made hooking the electronics up a breeze.
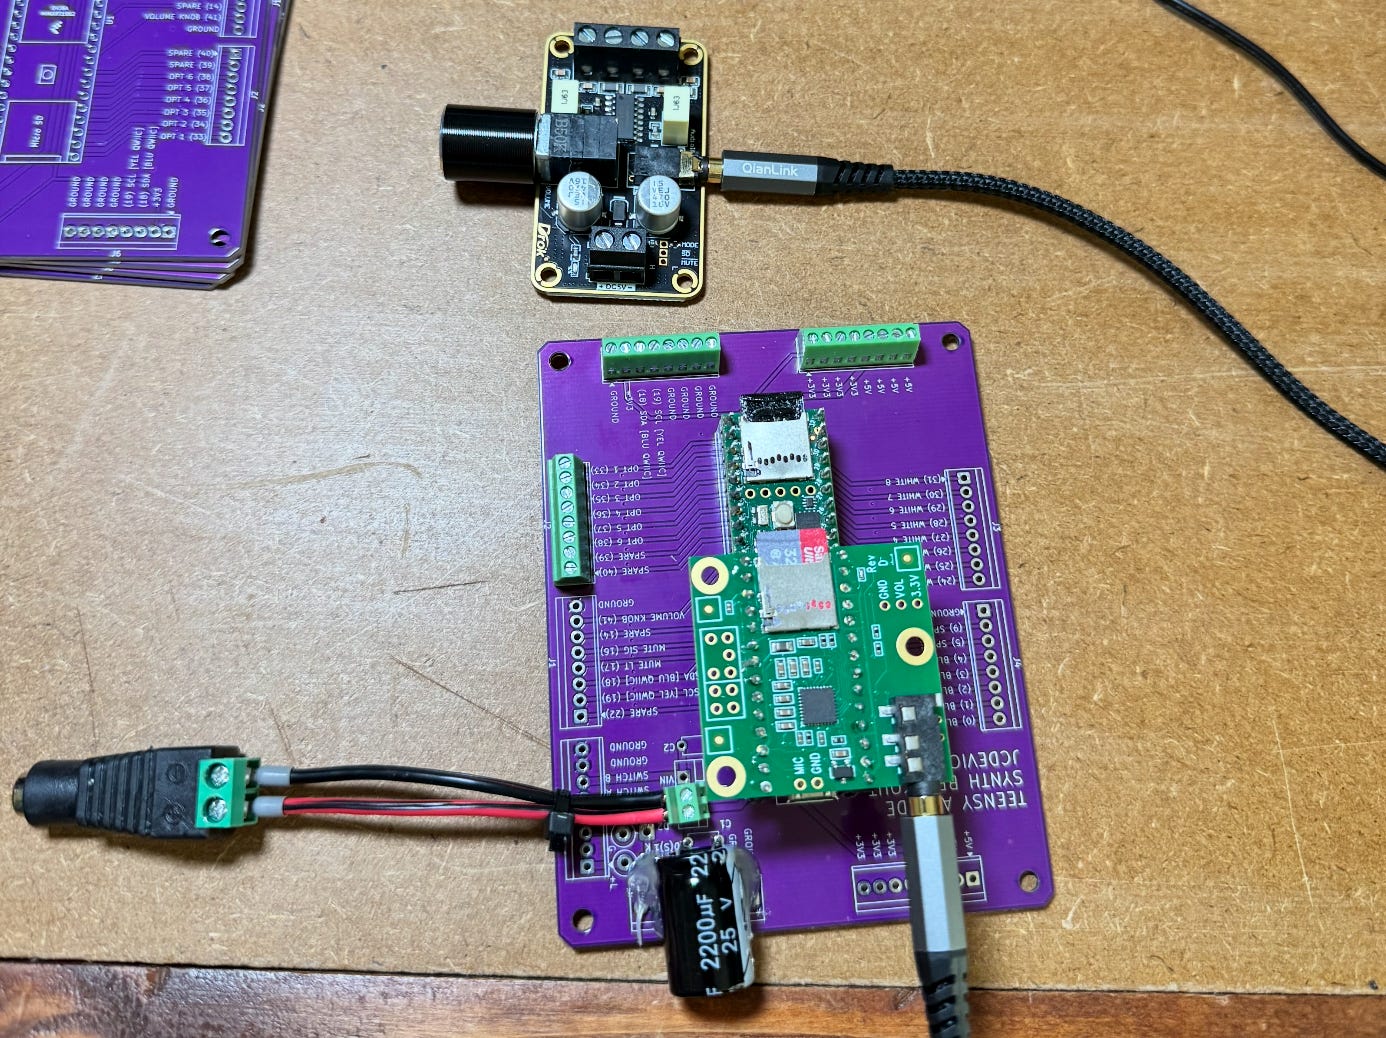
Programming, too, was fairly easy, assisted heavily by Mr. GPT. I also bought a high-quality SanDisk Micro-SD card to store the clips. I don’t mind paying for quality here — it would be a shame for the project to fail because of a corrupted card — however, it is a little annoying that I had to buy 32 GB when I needed less than 1 GB.
My screw terminal boards are available on our sponsor SmallRun. for the low, low price of $12.95 + shipping & handling. Sure, you could design your own, fashion something out of perfboard, or solder things directly. However, given the amount of time this board could save you if you’re setting up a Teensy synth and/or animatronic figure, it’s a tiny price to pay.
Pay now — or pay later
What paying now or paying later looks like specifically for you is probably much different than what I outlined here. However, I suspect there are significant similarities.
Sometimes things that are cheap and may soon break is OK — e.g. that tool that you really just need once. At other times, it’s critical that things function as they should — e.g. servos that will drive a an animatronic cutout over several days at a conference… or the coffee maker that your significant other uses and depends on every single day.
Bottom line: if there’s some hassle or inconsistency in your next project (or life in general) that could be solved by throwing money at it, go ahead and make the purchase. And if you’re going to do that, don’t be afraid to spend a little more money for quality that will last. It’s probably a worthwhile investment.4
To put it another way: don’t cheap out on the servos! -JC
Techadjacent is where I share engineering ideas, builds, and practical tech analysis. Subscribe to get the next post in your inbox — published ~weekly👇
Thanks for reading! I hope you follow along on this Techadjacent journey. Fair warning: I can and do get a little off-topic in the footnotes. Get in touch: hi@jeremyscook.com, leave a comment, or just reply if you’re reading this as an email!
Note: Some links may be affiliate
Addendum/Footnotes:
As featured here:
Hiring Specialists - the Good, the Bad & How to Work Nicely With Others

As noted in this post, I’ve been working on a rather large project — an animatronic cartoon cowboy version of me inspired by the Vegas Vic cowboy… of Las Vegas. This has required some different techniques for completion, including working with an artist named Jay to cartoon-cowboy-ify me.
And also here:
My Manic Las Vegas Trade Show Trip (AU 2026)

As I write this, I’m in the Las Vegas airport, awaiting my ~11:00 PM flight that will get into Georgia (the state, not the country) early tomorrow. A shorter flight will then take me to my Tampa Bay, Florida homeland at circa 9:00 AM. I am running on very little sleep, breakfast ~12 hours ago provided by the Autodesk University trade show, and a dinner at the airport consisting of a Wendy’s Double Stack meal that somehow cost ~$15.
Yes, KG is a unit of mass, but that’s how these servos are rated. Newtons (N) is the SI unit of force, which would work out to be about 108 N-cm, or around 1 N-m. So 1 N-m servos. But that means very little to the average person, so the KG equivalent under earth’s gravitational pull makes sense. OTOH, most people probably don’t know what a KG-cm is, especially in the USA where we use the same units that put men on the moon.
As for me, I’ve largely converted to millimeters for my builds, as it does indeed make more sense, even if some friends and family might accuse me of being a communist or some such insult. Those that are more outspoken about such feelings likely don’t read the footnotes here, so we can keep this between us.
I can, however, still space out the tip of my thumb and forefinger to within a 1/16 of an inch on command… Or so I though until I just tried it and measured ~31mm. Which is about 1-1/4 inches in “Merica units.
Don’t tell any of my former professors from college. Go ahead and tell my former bosses. Most would probably agree.
Within reason. Sure, hiring a butler will solve a lot of annoyances, but he may be out of your budget. Or maybe you don’t have space of yet another gadget and a knife is good enough. This chip lifter, however, I thought was entirely superfluous, and a tool that I wanted “just because.” However, I’ve found it to be quite useful. You might consider it as a sort of micro, light-use crowbar.