
Non-Catastrophic 3D-Printed Cord Tensioner Failure
While you might say "I told you so," I could reply that I'm just verifying the hypothesis that 3D-printed cord tensioners will inevitably fail. Novel use case #14.

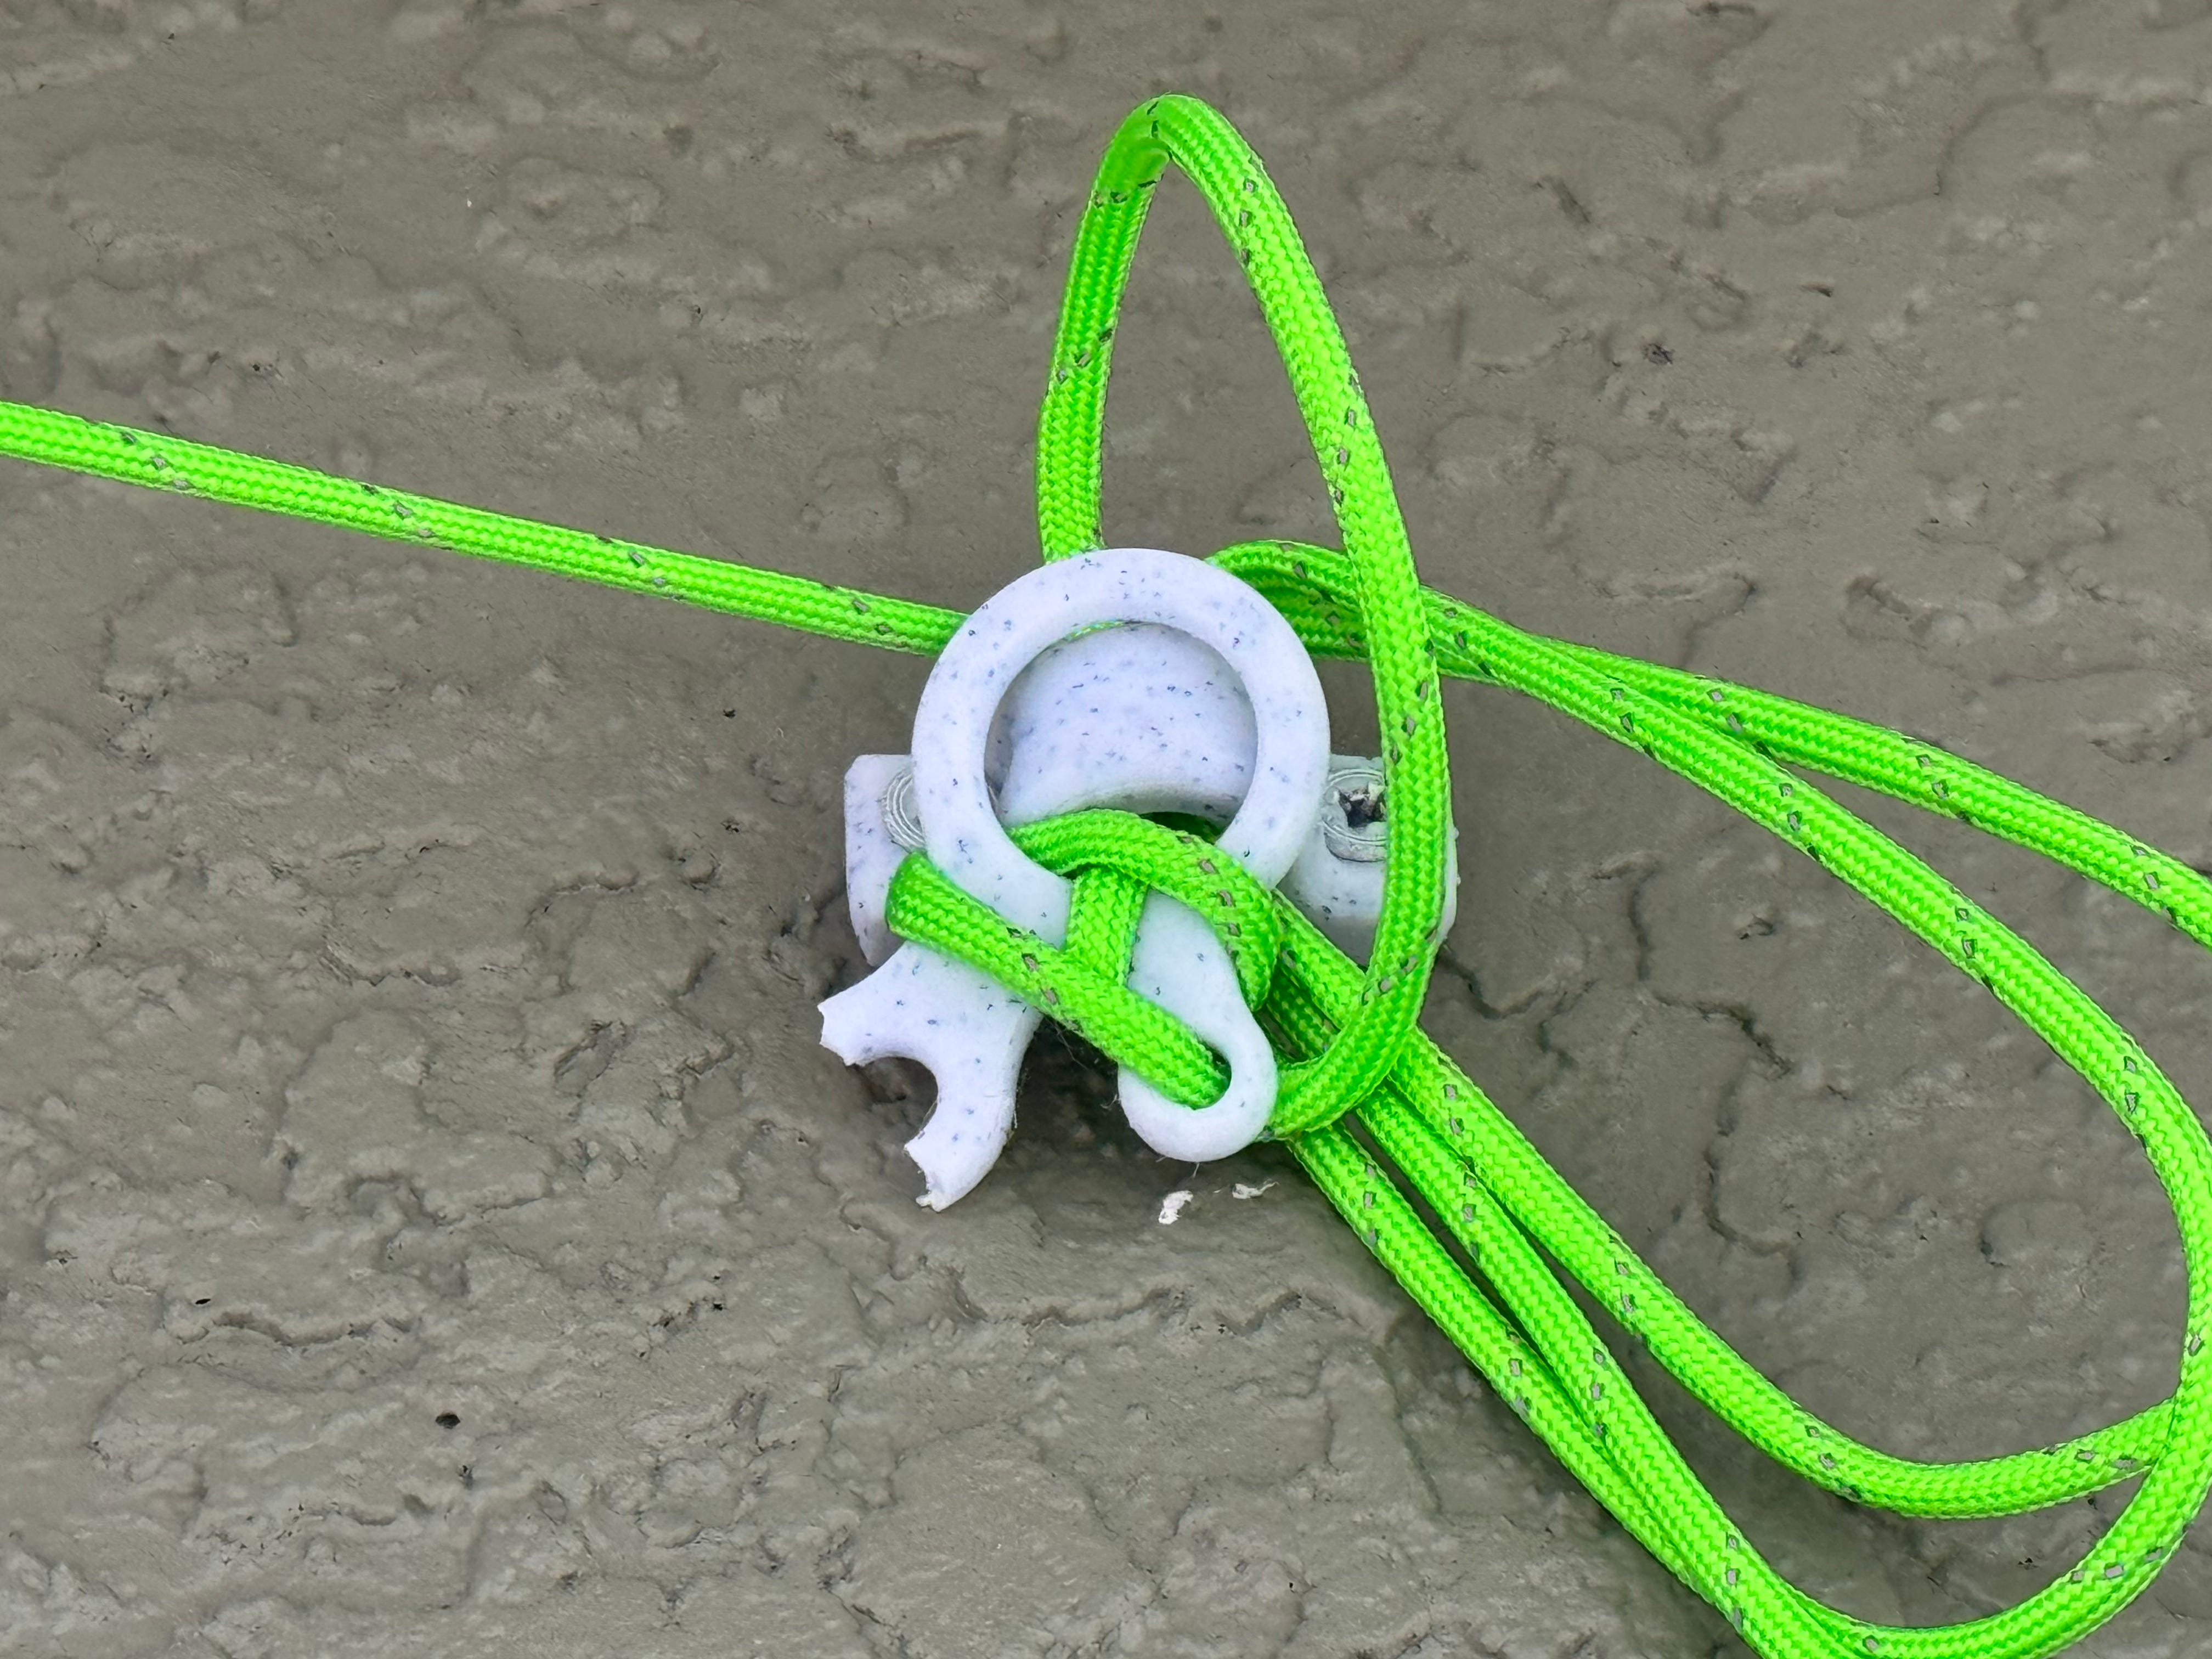
I could also say “I told you this isn’t a safety-rated device.” Nonetheless, after installing a set of 3D-printed tensioners to hold up my sunshade on May 29th, 2025, one of them snapped on August 22nd, 2025–after roughly 3 months under tension. We got quite a bit of rain before that, so perhaps that was the straw that broke the proverbial camel’s back1.
So what’s the alternative? As it just so happens, metal versions of these are available on Amazon in 24-packs for $8.08 if you use a coupon, i.e. ~34 cents each. Since I spent four hours designing and printing this item, if I was paying myself Florida’s then minimum wage of $13.00/hour, my new version is quite expensive. In fact, according to my calculations2, this would put the price of a 24-pack of tensioners at a cool $56.
Sometimes a novel use case isn’t about being the cheapest, but about making something new!(?) At least that’s how I justify it. I could make this bigger for more strength, which is a possibility, or out of more exotic 3D-printing materials, though some of them tend to be more difficult to print and/or generate fumes. So I’m not crazy about going down that route (Actually, I’m a bit more open to experimentation since I recently got an awesome new Prusa Core One printer).
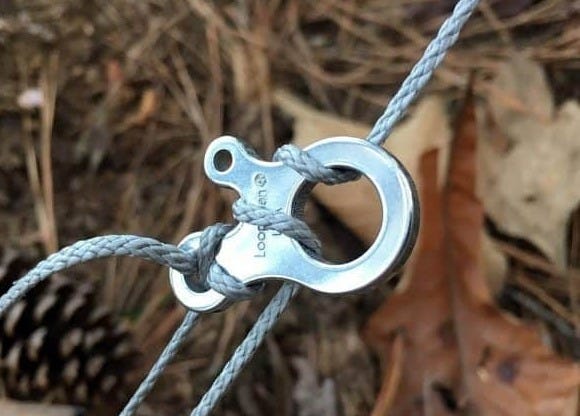
A preventable point of failure?
I don’t expect this to be able to hold a lot of weight, and certainly not over a long time. But maybe the design could be improved.
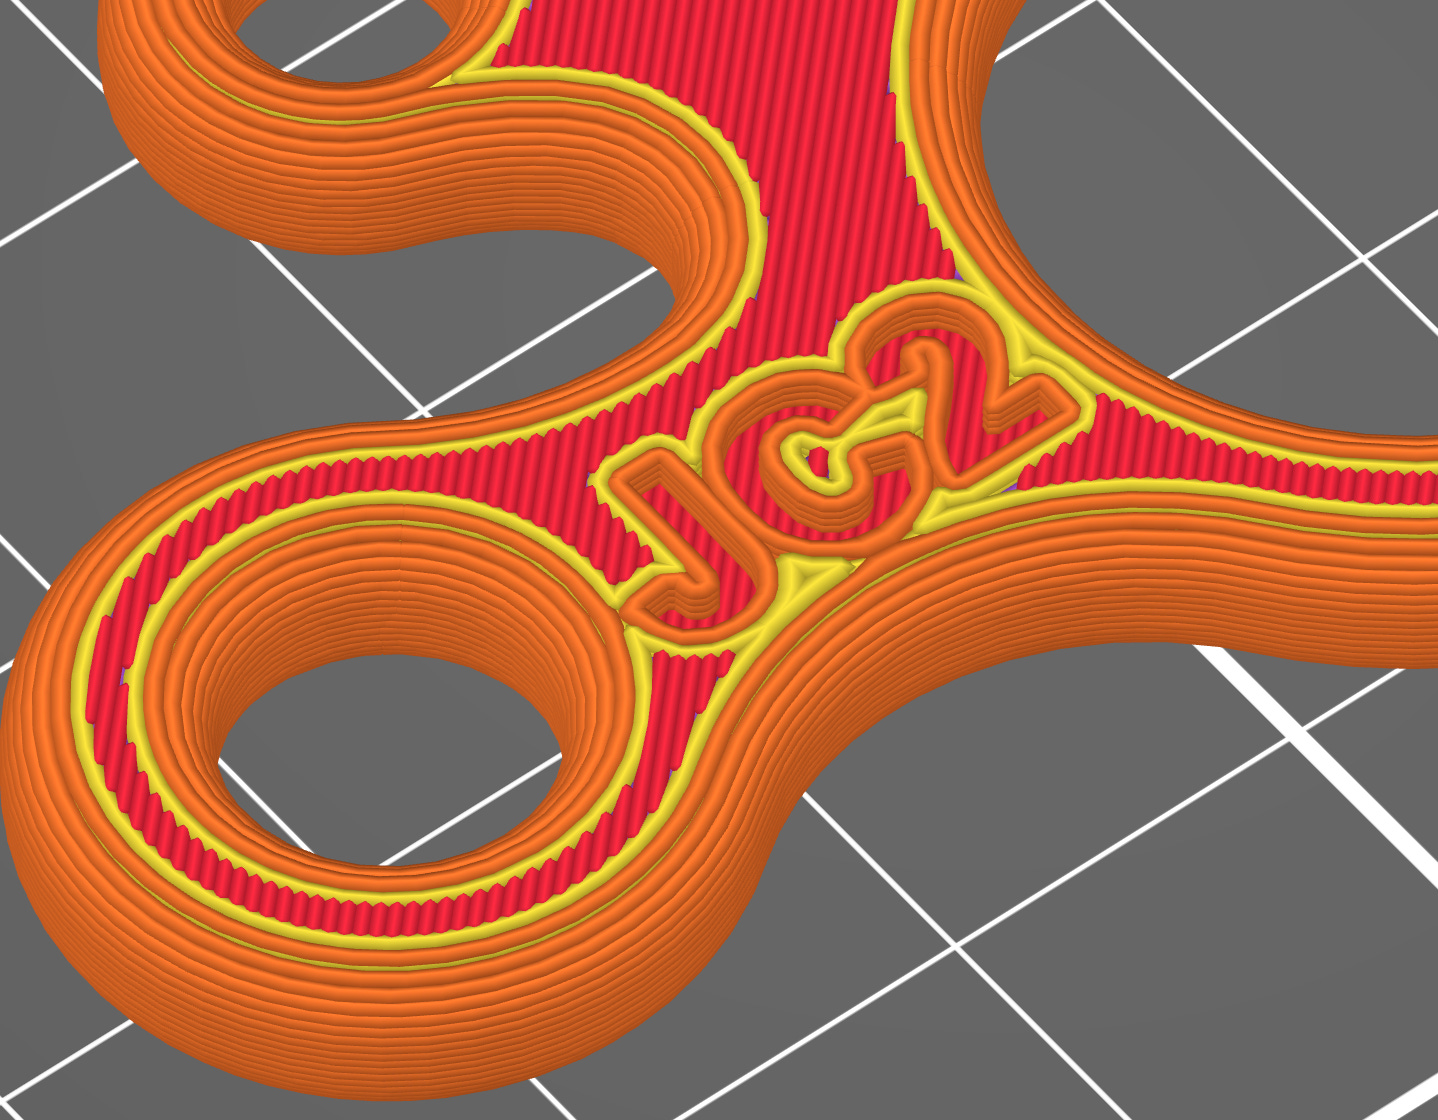
To that end, on this print’s download page, someone suggested that I offer a version without the “JC2” mark for strength purposes. Given the scale of everything, this does make sense as an initial point of failure, though as we’ve seen here it appears that this section wasn’t the failure part of the design. I haven’t uploaded such a non-marked design, but perhaps I will at some point in the future.
Sometimes the normal way is better(?)
At the end of the day, it makes little sense to 3D-print this sort of loop design, unless you need to have it near-instantly to hold something rather lightweight and inconsequential since the design is done. Or perhaps you just think it looks cool or want to experiment.
The lesson I should perhaps take away from this is to do my research and only design things where it makes sense before committing time on something that doesn’t really matter.
But I probably won’t. I enjoyed making3 this design, and if I never designed things that didn’t quite make sense, that would probably rule out 90% of my builds. I’m sure I learned something during the process, or at least got a little better at CAD. There’s some value in doing things yourself, even if you should just “make” it with your green government-backed tool, i.e. cash.
Anchors - Holding Strong!
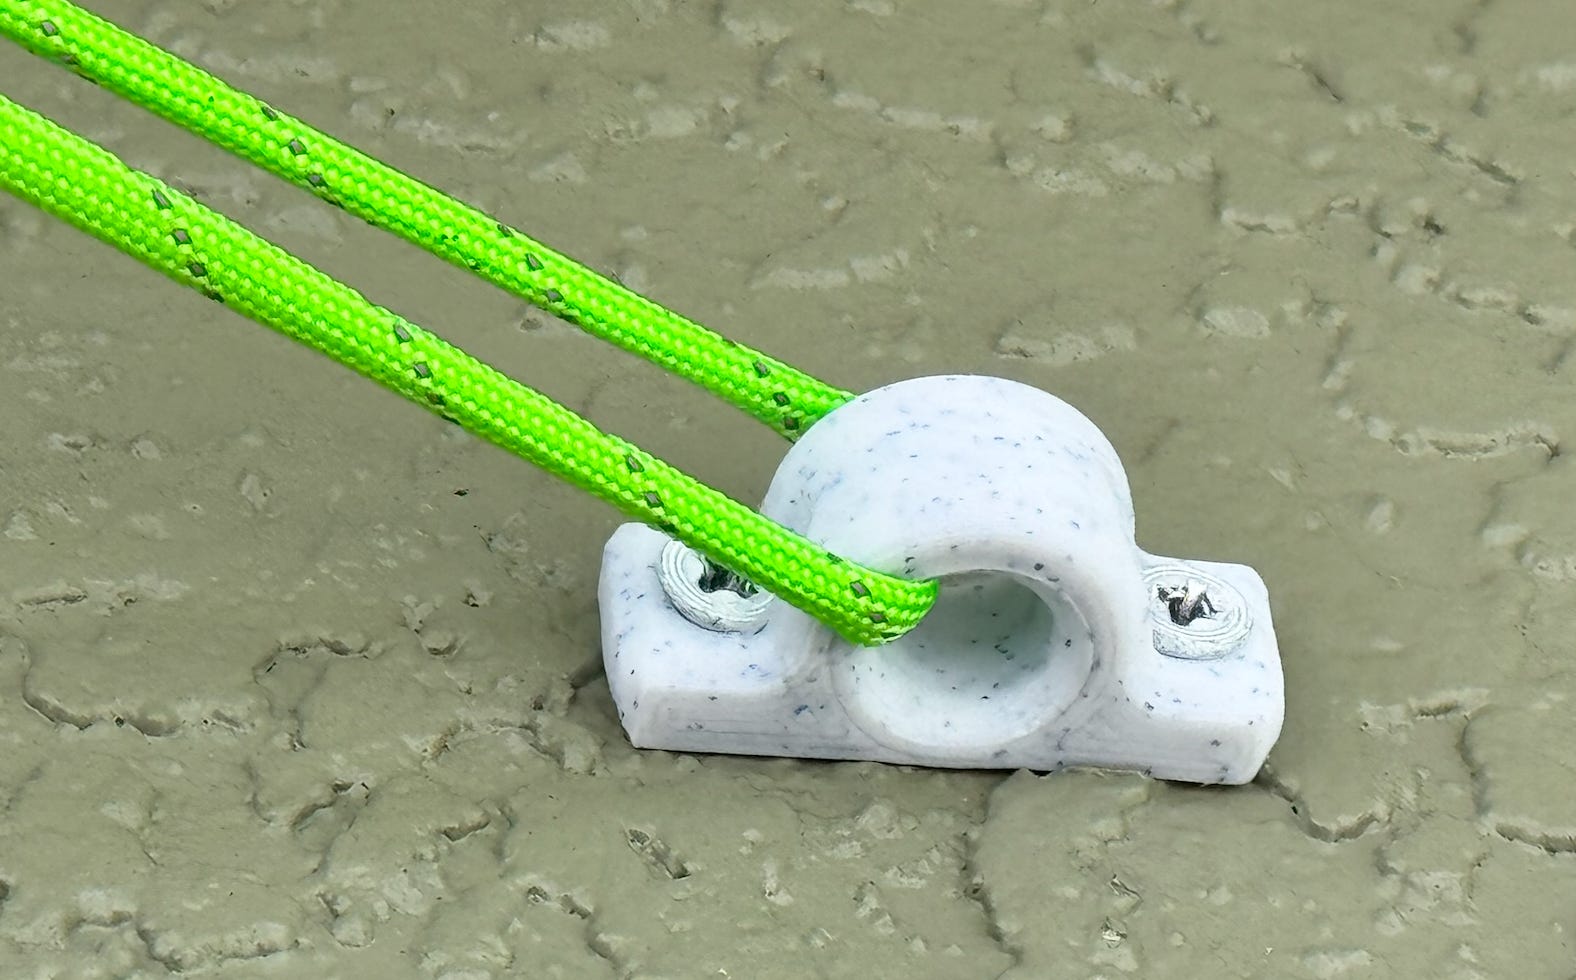
And since you asked, the 3D-printed anchors that I used to secure my sunshade to the wall are holding strong. Their design seems a bit sturdier, and I suspect they’ll be around for a while. But we will see. Both the tensioner and anchor designs are available on Printables in glorious public domain format for your use and/or examination.
The tensioner has been much more popular downloads-wise, but neither should be used in any sort of critical situation.
Use Things Properly
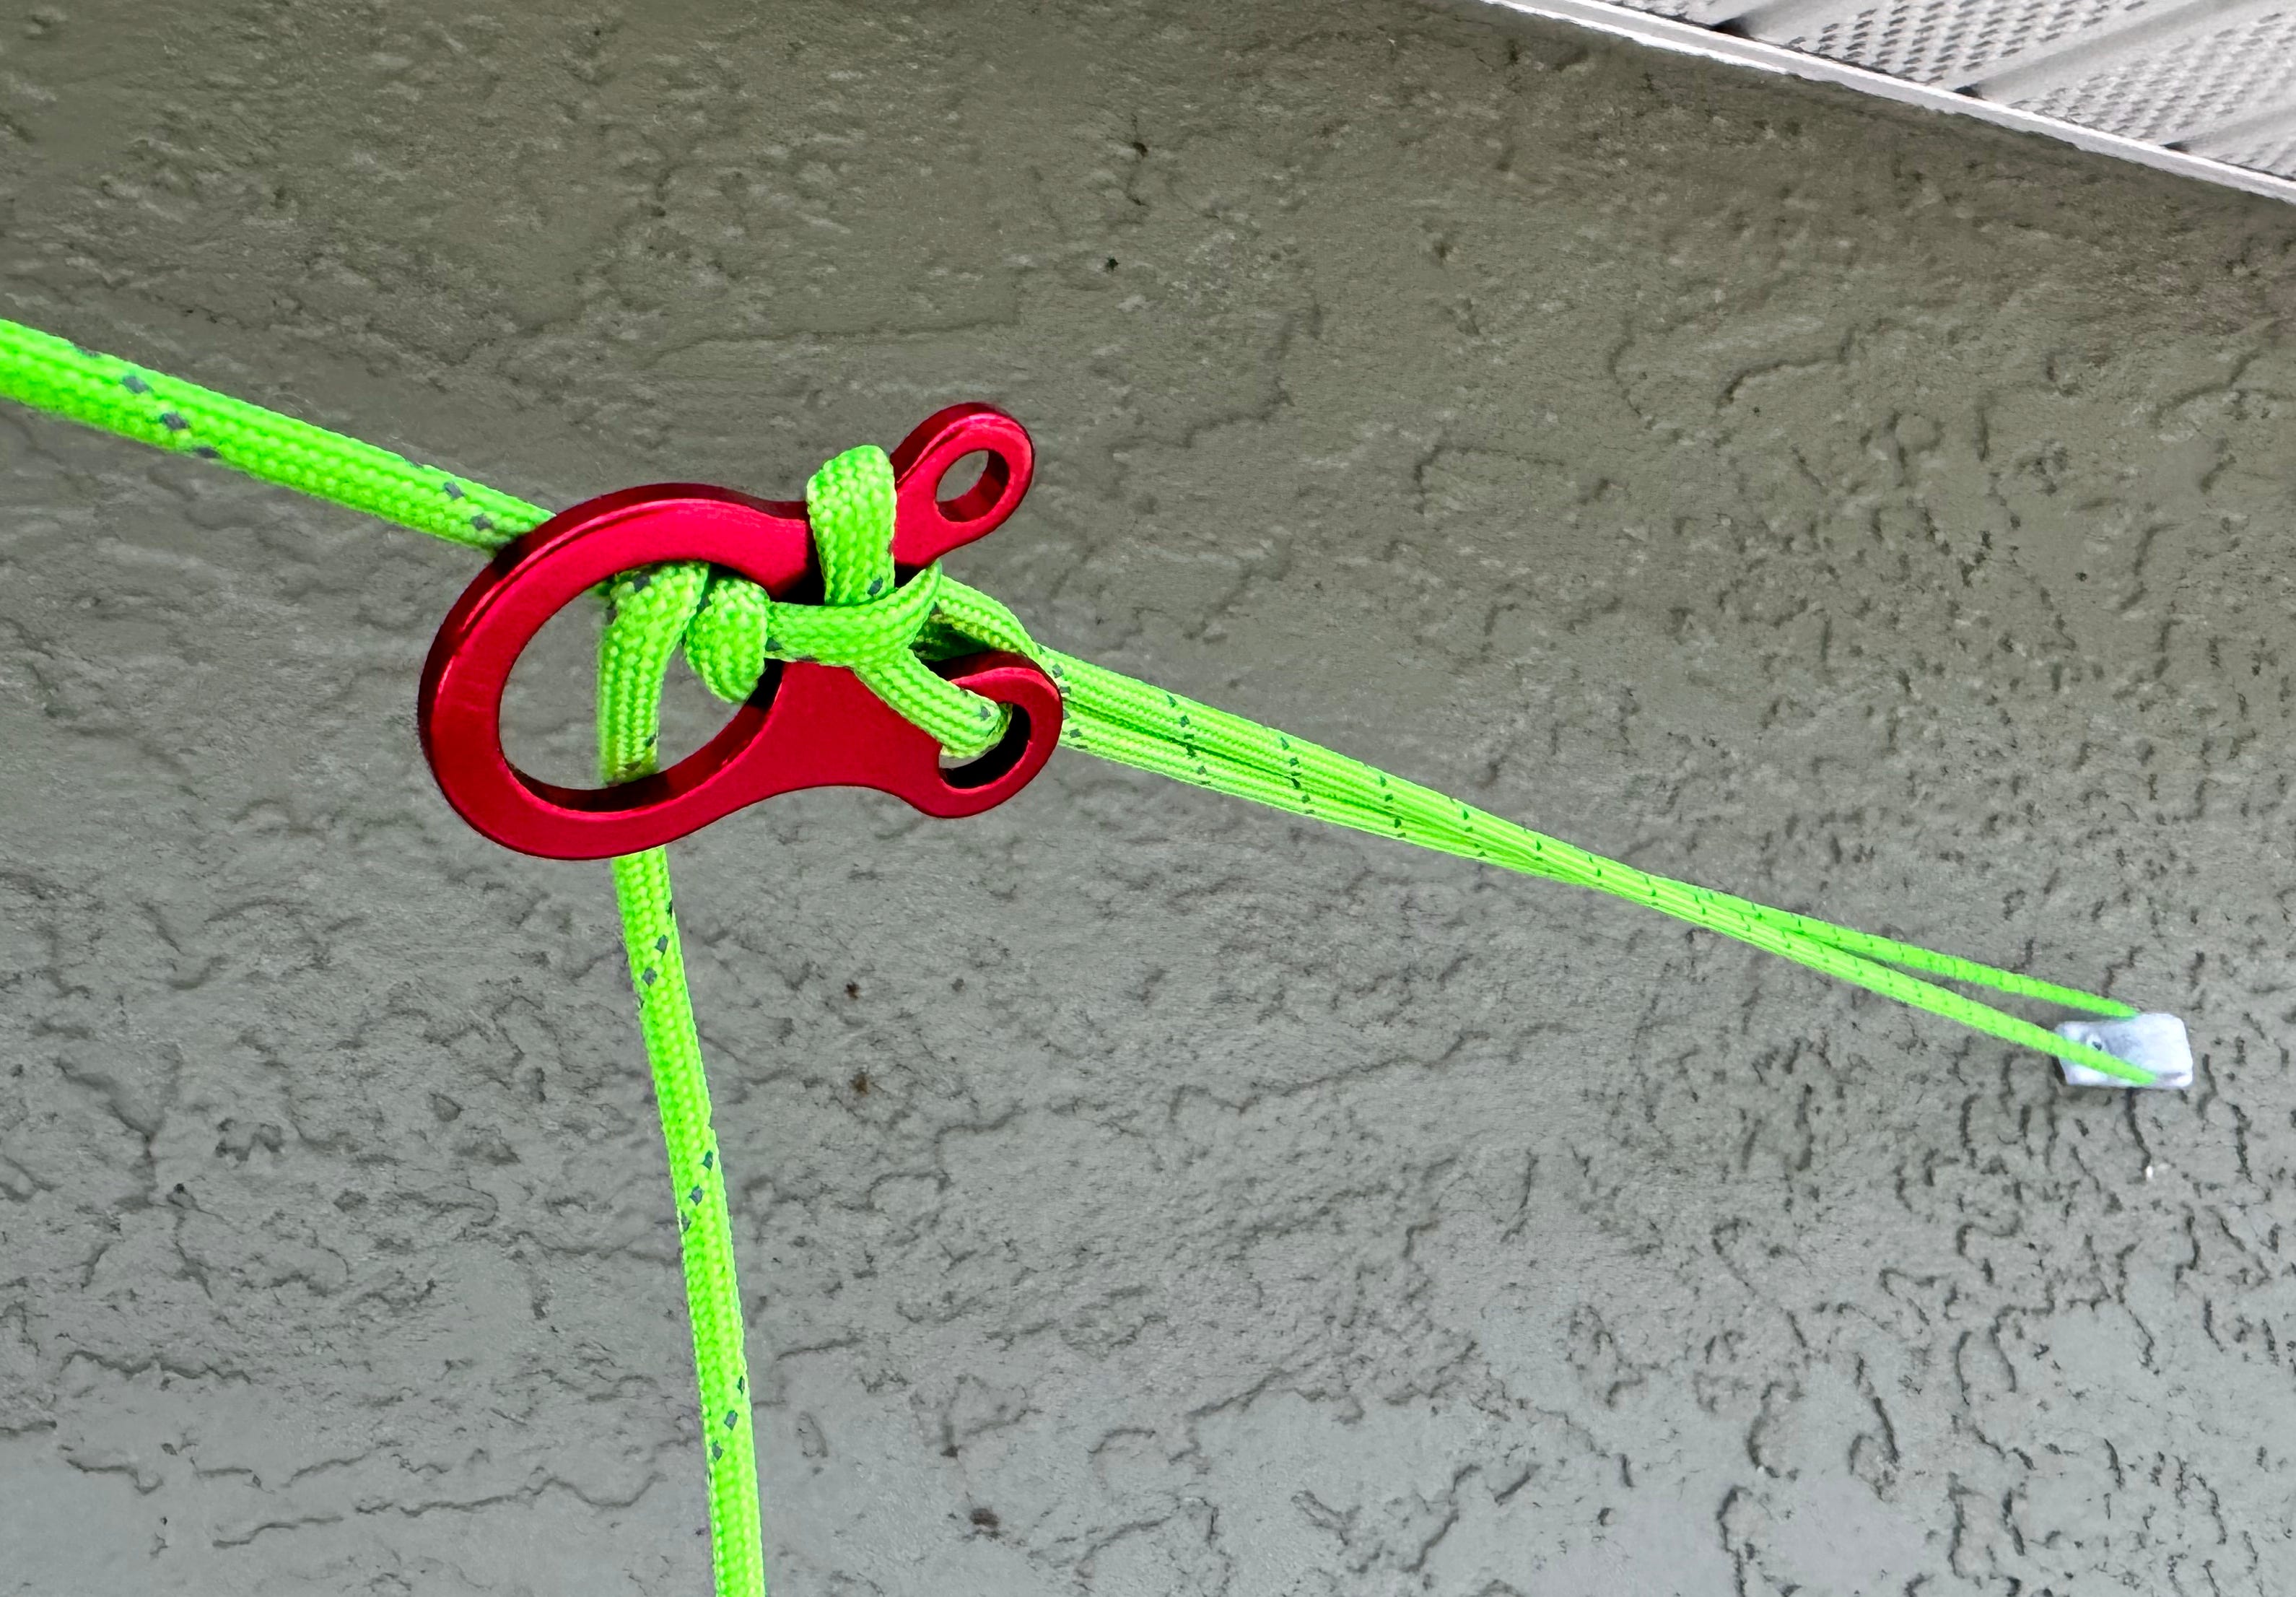
Looking at the video below, I was apparently using this tensioner incorrectly, placing significant stress on the second-smallest loophole4, and likely not getting the full mechanical advantage benefit out of it. I think the way outlined below makes sense for how to use it. However…
When I posted this on Reddit, I got a rather positive response overall, but someone noted that I was using it wrong. Which is fine. Polite criticism is always should be welcome. However, what “StucklnAWell” pointed me to (below) is not what is outlined in the video above.
OTOH, If you check the actual LoopAlien page (from which this design was copied ~4 iterations ago), it does agree with Mr. Well. Perhaps there is more than one correct way to use this sort of device. Or perhaps you shouldn’t trust everything you read on the Internet.
Except for Tech Adjacent. This site comes with a 100% truthliness guarantee. Mabe. -JC
Thanks for reading! I hope you will follow along as I post weekly about engineering, technology, making, and projects. Fair warning: I am a native Florida man, and may get a little off-topic in the footnotes.
Note that any Amazon links are affiliate
Addendum/Footnotes:
Is this still an appropriate comparison to make since camels tend to do quite well in the sun? I don’t think they like rain very much though.
Also, it may have snapped on the 21st. The shade was sagging down and I checked out on the 22nd.
One might argue that this failure is catastrophic in the sense that the tensioner was totally ruined and the sunshade was no longer hanging correctly. But it was only an inconvenience, so not catastrophic in that sense.
Did it take me 4 hours? Hard to say at this point, since I’m just now getting around to editing/publishing this post. Nevertheless:
$13.00/hour x 4 hours amounts to $52 + 4.57 grams of filament = .00457 Kg ==> $20/Kg x .00457Kg ~ 9 cents each + power and wear and tear on my printer per part. So let’s call it 15 cents each x 24 parts = $3.60. $52 + 3.60 = $55.60 ~ $56.
Florida’s minimum wage is $14/hour now, and will be $15 by this time next year, so feel free to update the math as applicable.
I didn’t need all the purchased loop things, so I gave a few to my neighbor Jason and friend Sean. Not sure if either has used them, but it was a small price to help build in a buffer for any future social faux paus(es) I might commit.
Reverse engineering, to be fair.
Seems like there should be a pun there. Feel free to add your own mentally and/or let me know in the comments.
Also, I’m going to call this novel use case #14, even though it’s more like the results of #8. Perhaps one could still call it novel since I’m using the aluminum tensioners with 3D-printed anchors.